
All tutorials on this site are copyright protected. They are part of a book that I am currently working on and will publish in the near future.
In order to keep our tutorials simple for this web site, we have kept the verbiage to a minimum There is a lot left up to the viewer to discover. We hope you enjoy these and find them useful.
Pate De Verre
This is a clay freeze and fuse without the freeze. I call it Faux pate de verre. You create the glass piece in a mold and then remove it from the mold for further work. You do not need to freeze the piece This is the culmination of my freeze and fuse experiments. Elements crated by this method are fun to make and very easy to manipulate once completed.
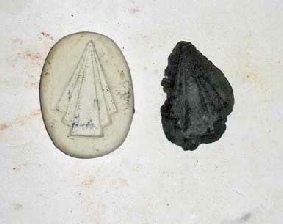
Mold and de mold
One great advantage of this process is that you can use the molds made for polymer clay which are cheap and abundant. You can also use the mold making material made for polymer clay which is far cheaper than silicone RTV. These all have a very slight flexibility. Do not over flex them.
Take your mold and paint it with wax resist. Wax resist is available from most pottery supply houses and for $10 you can get a lifetime supply. Be sure you paint the surrounding surface of the mold with the resist. The resist acts as a separator for the clay. Let the wax dry.
Pack the clay into the mold. Dry thoroughly. I dry the clay under a heat lamp. You need to be careful that the lamp does not overheat the mold. The polymer clay molds will cook if you heat them too high. The clay needs to be dried all the way through. With the lamp about 1 ft from the clay, I dry it for a day. You may try other methods of drying, but it needs to be dry all the way through to de mold properly.
De mold by trying to work a fingernail or thin flat surface under the edges of the clay. You may well find that the piece just falls out. If need be, slightly flex the mold to separate the Clay. Again, do not over flex the mold. It will break.
Cold Working the piece
Here is where I absolutely love this material. Dry and de mold the clay and you are ready to cold work. This dried material is amazingly durable. It will not fail or break apart very readily. If you have flashing or overrun on the clay you can sand it away. If you want to grind details in the clay, you can do it. If you want to drill holes into the clay, just drill them. You can even lay your piece, back down, on a piece of sand paper and make figure eights to make the piece thinner. I make extensive use of my Foredom flex shaft. I use grinding wheel bits as well as diamond bits.

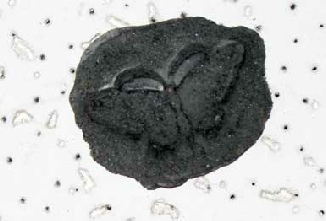
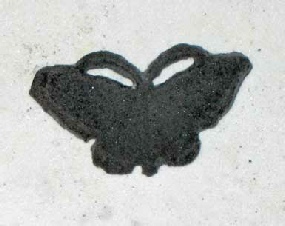
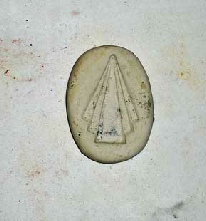
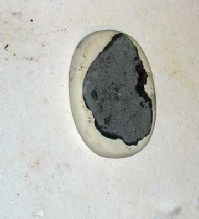
The last two photos above are of a butterfly before and after it is carved. Note that the clay takes a lot of abuse and will hold a great deal of detail.
Fusing the Clay
Put your dried clay pieces on a thinfire or kilnwashed shelf and fire to 1390°F for 10 minutes. Kilns vary widely, and the glass clay is very sensitive to over firing. You will probably need to adjust your schedule to reflect the realities of your kiln. If you over fire, you loose detail or at worst melt the piece.
Once fired the pieces are usually small enough that they can be cooled quite rapidly. One fired, the pieces are usually reduced in size by half, but no details are lost.
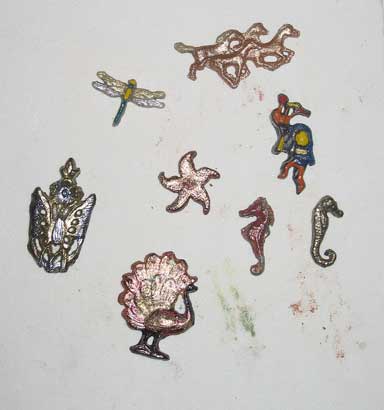
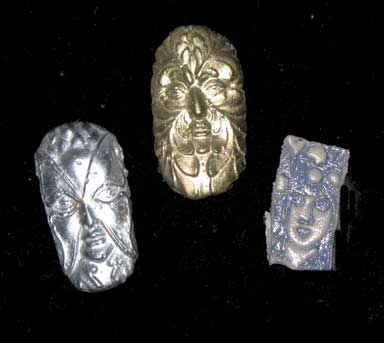
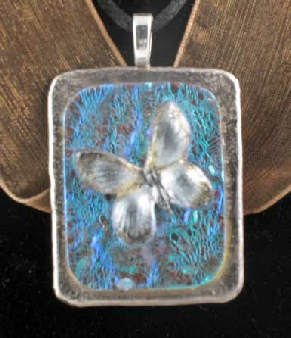
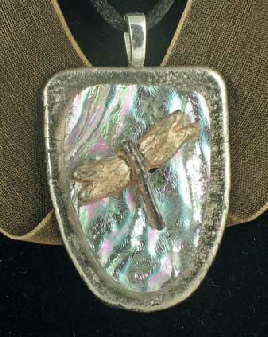
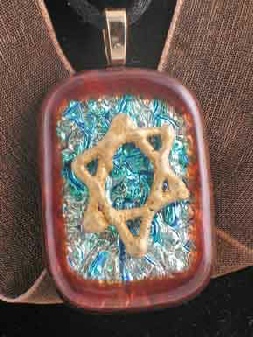
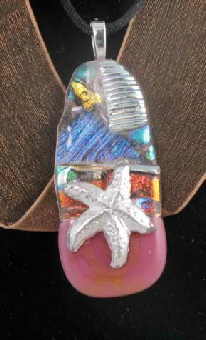
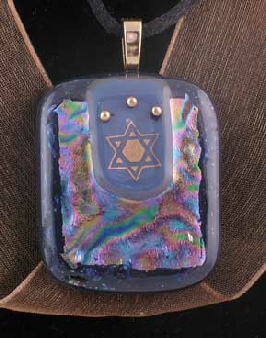
Samples of elements created with Glass Clay
This is a basic overview of Glass Clay. I have many more techniques and tips that I currently include in my classes and will include in my book. One of my favorites, by the way, is to syringe the clay, but that is another tutorial to come.
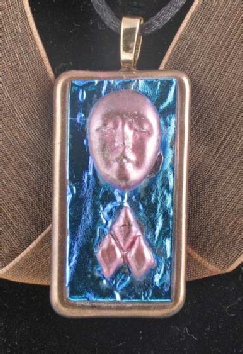
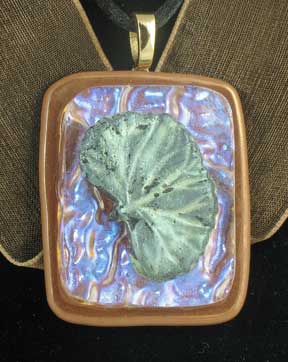
| Silver metal and glass clay samples |