
All tutorials on this site are copyright protected. They are part of a book that I am currently working on and will publish in the near future.
In order to keep our tutorials simple for this web site, we have kept the verbiage to a minimum There is a lot left up to the viewer to discover. We hope you enjoy these and find them useful.
Putting Bails on Pendants
There are numerous ways to put bails on pendants. You can use a wire wrap, PMC, wire loop, glass bails, and several others. This tutorial will only deal with two methods. They are probably the two most popular methods. The first is pinch bails. Actually pinch bails are pretty simple. The problem is drilling the holes. We will give one method to drill the hole that takes out all the problems .
The second method is “cold fusing” or using E6000 to adhere the bail to the pendant. Again, we have one simple secret that has worked for us 100% of the time.
Drilling holes for Pinch bails
Many of you have tried to drill holes in pendants to mount a pinch bail. If you have tried, you have certainly failed several times due to the bit sliding across the surface of the pendant. The next thing you tried was to start a a very steep angle and then raised the drill to vertical once the hole has been started. Then you often find the hole didn’t quite start where you wanted and the hole is well off center. Then, if you are persistent, you went to a drill press.
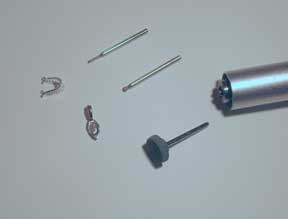
We have developed a simple method to drlll a hole in the correct place easily and consistently. First, you must use diamond drill bits. We purchase them at Harbor Freight in packs of 20. There is a huge advantage to this as you will soon see.

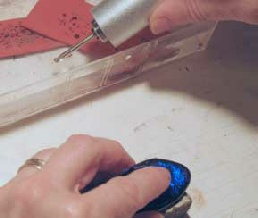
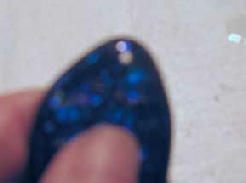
To start, use a ball bit (in the HF diamond bit set) in your Dremmel or Flexshaft. Next, wet the surface of the pendant and dip the bit in water. You do NOT drill in water. Brace the pendant on a piece of wood or anything to raise it off the table by enough to have the Flexshaft parallel to the table in your other hand. See the pictures to understand this concept. Now just bring the bit to the pendant exactly where you want the hole to be. You just drill enough to create a starter hole.
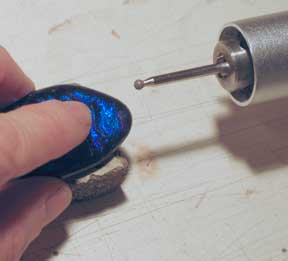
In doing this procedure, you holding the flexshaft such that your hand is partially resting on the table. You then have great control of the drill bit. There is enough water on the bit and you are drilling a small enough area that the bit doesn’t get hot and ruin the diamond coating.

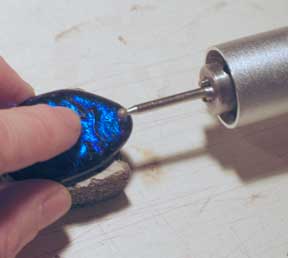
At this point you change diamond drill bits to the size you want. Immerse the pendant in water, and drill the hole using the starter hole for positioning the bit. Works every time.
I am not going into the “drill fast, drill slow, press softly, press hard” debate. I have just given you an easy way to position the hole every time. It is up to you to drill the hole.
E6000 Works
There is an endless debate about the best adhesive to use for attaching metal bails to glass pendants. Many people swear by E6000 and others swear at E6000. In our making pendants we have attached several thousand bails, and as far as I know we have not had a failure when we applied the E6000 correctly.
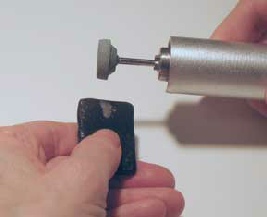
Grind each side (glass and metal) of the attachment area. On the glass it is not necessary to have the entire attachment area ground. We use a rough grinding stone bit in our flexshaft. The glass should be well ground. We saw one person grind with a silicone bit imbedded with 400 grit. It left a very smooth ground area. Not good. We really want to rough the glass up.

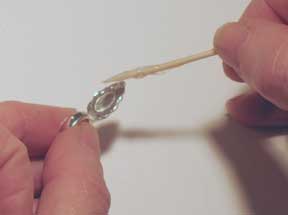
Next, let me say, do not use too much adhesive. More is not better. Use enough adhesive to lightly coat each side of the attachement. On the metal side, we use a toothpick and smear on some adhesive and then use an area of the toothpick close to our hand to remove the excess glue.
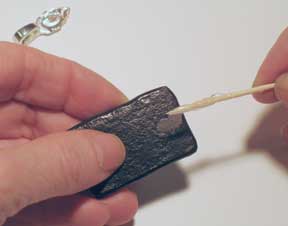
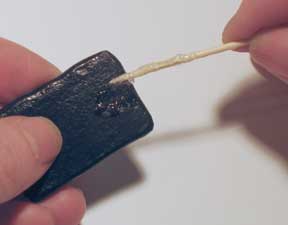
Now the secret. On the glass side apply some adhesive (not a lot) and work the adhesive into the ground area. If you just smear the adhesive on, you trap air in the grind marks. By working it in (with the toothpick) you get an extremely good attachment.

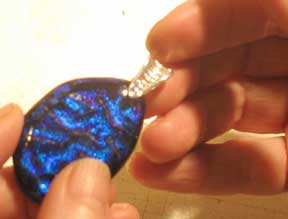
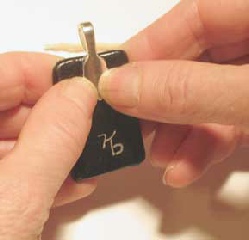
Once both sides have been treated, press (squeeze) them together. Use a blade or a toothpick to remove any excess adhesive that squirts out.
Leave the piece alone for 24 hours. You should have a very strong attachment.
We discard an open tube of E6000 after we have used it for 2 months. This is a prophylactic measure as we notice the E6000 thickening up. We have never had a problem, but we do it anyway. The stuff is cheap enough.
One last thing. We have seen people test their pieces by holding the pendant and wrenching the bail sideways very hard. Almost any attachment will fail that test. It is an unrealistic test for real world pendants. If you feel your customer will be that rough with their pendant, don’t sell it to them.

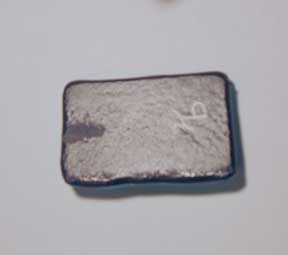
| Silver metal and glass clay samples |