
All tutorials on this site are copyright protected. They are part of a book that I am currently working on and will publish in the near future.
In order to keep our tutorials simple for this web site, we have kept the verbiage to a minimum There is a lot left up to the viewer to discover. We hope you enjoy these and find them useful.
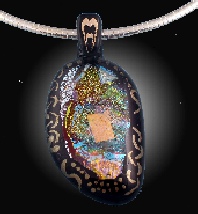
Tutorial for Making Glass Bails
This is a reprint of a tutorial I posted on several forums long ago. I have several new methods that are better and produce different, more professional bails, but this method is still an excellent one for basic glass bails,
This is meant to be a starting point for you to expand upon and make unique and creative glass bails. It is very inexpensive in both materials and molds and extremely quick.. You can make an unlimited supply of bails with just 3 pieces of ceramic molding. You will also need a saw to cut the strips of bails. Into individual bails. Other than that you will need just glass......any color.
Mold materials Needed.
From the tile department in Lowes or Home Depot, you will need an edge molding tile. This is the ceramic tile that goes on the edge of a counter. It is 6 inched long and has a right angle bend. I cut off about 1 inch from one long side of the piece to make it stable when sitting on the shelf..
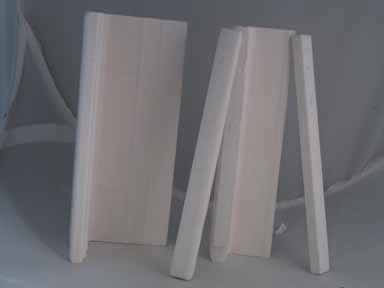
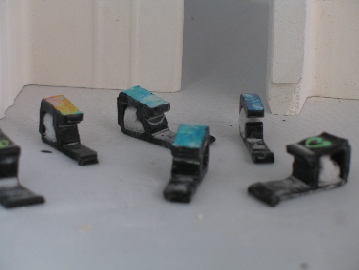
You will also need at least 2 tile strips 6 inches long by ½ by ¼ . Pictured below are 2 corner tiles, the one on the right is cut down, and 2 tile strips. All tiles will need to be kiln washed where they contact glass. The inside of the angled piece is not glazed, so it works fine. You need to sandpaper off the glaze on one side of the straight pieces.
Glass Needed
You will need one piece of glass (usually black) for the base 1 inch wide by 6 inches long. You will need a second piece a little wider than the fiber paper is thick (about 3/8 inch. This is the back. You will need a third piece of glass (the top) about ½ x 6 inches.
You may optionally use a fourth piece ¼ x 6 inches.(front support)
The Sandwich
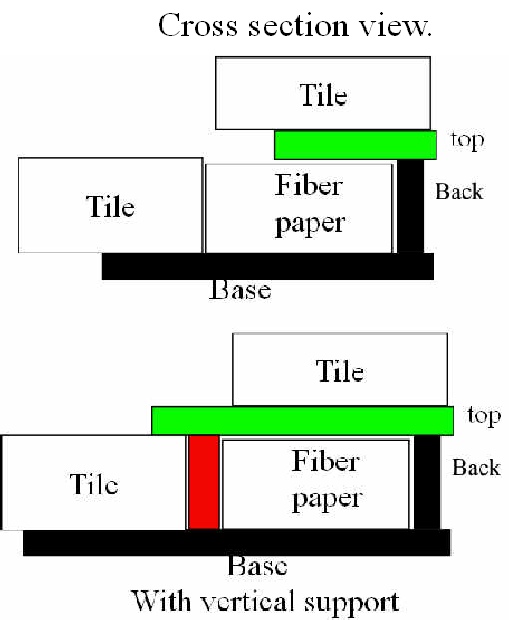
Sit the curved tile on a kiln shelf. Put the base glass flat on the tile against the right angle. Sit the back piece vertically ON (very important) the base piece of glass. Then put in the fiber paper strip in the right angle formed by the two Then put the top piece ON (Important) the back piece. You then put a tile strip on top of the top piece of glass. This keeps the sandwich in place.
You can optionally put a support piece in front of the fiber paper to form an entire bail. Put another piece of fiber paper in front of the support glass. You leave out the glass support to use the pendant as the front of the bail, but you may need some 1/32 inch fiber paper on the ¼ inch fiber paper to give the correct spacing.
Fuse and Refuse and Use
I put a second tile strip on the base piece of glass to keep it from curling up. Full fuse the entire sandwich. Once cooled, cut into individual bails. When you fuse them to pendants, you must put in new fiber paper.


This process is meant to be very flexible. You can add more fiber paper for thickness for a larger hole, but you must adjust the glass size to have good glass to glass contact for the fusing to take place correctly. The top tile strip is necessary to hold that contact during the firing process
All pieces are standing up and are 6 inches long.
2 angled pieces and 2 straight pieces
Top can be any width.
Above is without vertical support. Below is with vertical support
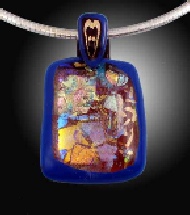
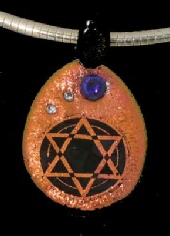
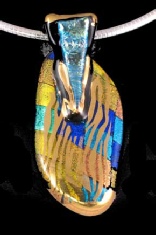
| Silver metal and glass clay samples |