
All tutorials on this site are copyright protected. They are part of a book that I am currently working on and will publish in the near future.
In order to keep our tutorials simple for this web site, we have kept the verbiage to a minimum There is a lot left up to the viewer to discover. We hope you enjoy these and find them useful.
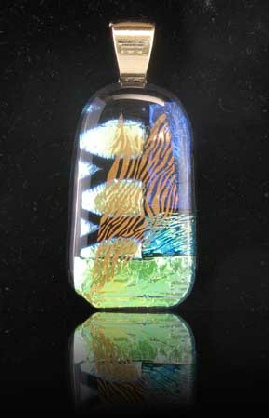
Kaiser Glass Design
Making a reflection in Photoshop Elements
I have had many requests as to how I do the reflection in my pictures. It is quite easy in Photoshop Elements. The only problem is that I am not a computer geek and have no idea how to post screen shots to show you how to do each step. So what I will do is take you through it verbally key stroke by key stroke and you should be able to get the idea enough to do it.
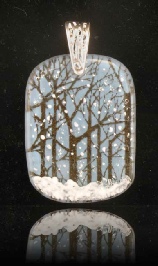
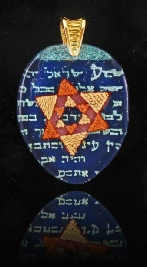
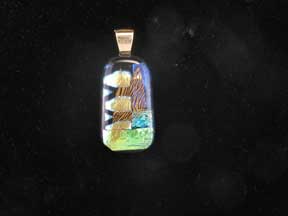
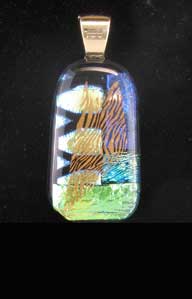
Start with a photo on a black background. This is simple enough if you can shoot your photo that way. If you have to extract the picture and make the background black, you are on your own to do so.

Make any and all corrections you wish at this time. You can adjust the lighting, clean up lint in the photo or any one of a myriad of other corrections.
At this point use the crop tool (from the left toolbar) to trim the photo such that it has a very small amount of black showing below the jewelry piece. The rest of the crop is your decision as to what looks best.
Next, go to the layers menu and select “duplicate layer:”. The program will suggest you name the layer “duplicate layer” and that is fine. You should now have 2 layers showing on the layers palette on the right. The “background copy” layer should be highlighted.
Again, use the crop tool and select the entire photo. Do not press okay or the checkmark. Go to the handle (the small rectangle) at the bottom center of the suggested crop, and pull it downward about half as large as the original picture. Now press the checkmark to accept the selection. Both of the pictures in the layer palette should increase in size to reflect the change.
Check to see that the “background copy” is still selected (in the layers palette). In the top menu select Image....then rotate,...... Then Flip layer vertical. Your top layer will now be upside down.
Tap the V key. This activates the select and move mode. Click and hold anywhere on the image and pull straight down until the image shows as a reflection of the original image. As an added help, if you hold down the shift key while moving the picture, it keeps the two pictures aligned.
You now have a picture with a perfect partial reflection of the piece. Unfortunately it is too perfect, so we need to dampen the reflection a bit.

In the tool bar on the left, select the gradient tool. This is the box that looks like a rainbow. Once selected look at the top of the screen just below the main menu. To the right of the word Edit, there are 5 boxes. Click the first box (linear gradient). This step is probably not necessary, as linear gradient is the default.
Now click the cursor at the bottom of the entire picture and hold the button when you click. Drag the cursor up until it I at the top of the reflected picture. Release the cursor and voila! You now have the reflection.

I add one more step. I go to the layers palette (with the “background copy” still selected) and change the opacity from 100% to 80%.
I hope these instructions are clear enough for you to do without trouble. I would like to thank Mark Kinsella for showing me how to do this. As I said I am not a computer geek and am only putting this on the site because I think it is such a great and useful effect.
| Silver metal and glass clay samples |